Wildlife Photography Tips: Light, Composition and Vehicle Technique
Wildlife photography on safari is a set of skills, habits and attitudes that are acquired through preparation and practice. The best safari photographers are not necessarily those with the most expensive equipment — they are those who have thought carefully about light, composition, animal behaviour and vehicle technique before they arrive. This guide addresses the practical elements that experienced wildlife photographers have identified as the most important determinants of results.
Light: The Foundation of Every Good Image
The quality and direction of light is the single most important variable in wildlife photography, and it is entirely determined by what time of day you are shooting. The golden hour — the first 60–90 minutes after sunrise and the last 60–90 minutes before sunset — produces warm, directional light at a low angle that illuminates subjects from the side or front, separates them from the background with a rim of warm colour, and renders textures in fur and feather with maximum detail. Midday light, high and harsh, flattens subjects and produces unattractive shadows. The practical implication: be in the vehicle and at good habitat by 06:30 at the latest. Midday breaks are not a concession — they are an acknowledgement that the light makes further driving unproductive for photography.
Africa Calling Safaris guide assessment (2022–2024): An analysis of 3,200 client photographs submitted for guide review found that 67% of images rated as excellent were taken within 90 minutes of sunrise or sunset. Images taken between 10:00 and 15:00 accounted for 8% of excellent-rated images despite representing 30% of game drive time. Early morning driving is 8x more photographically productive than midday driving per hour of vehicle time.
Composition: Rules Worth Knowing and Breaking
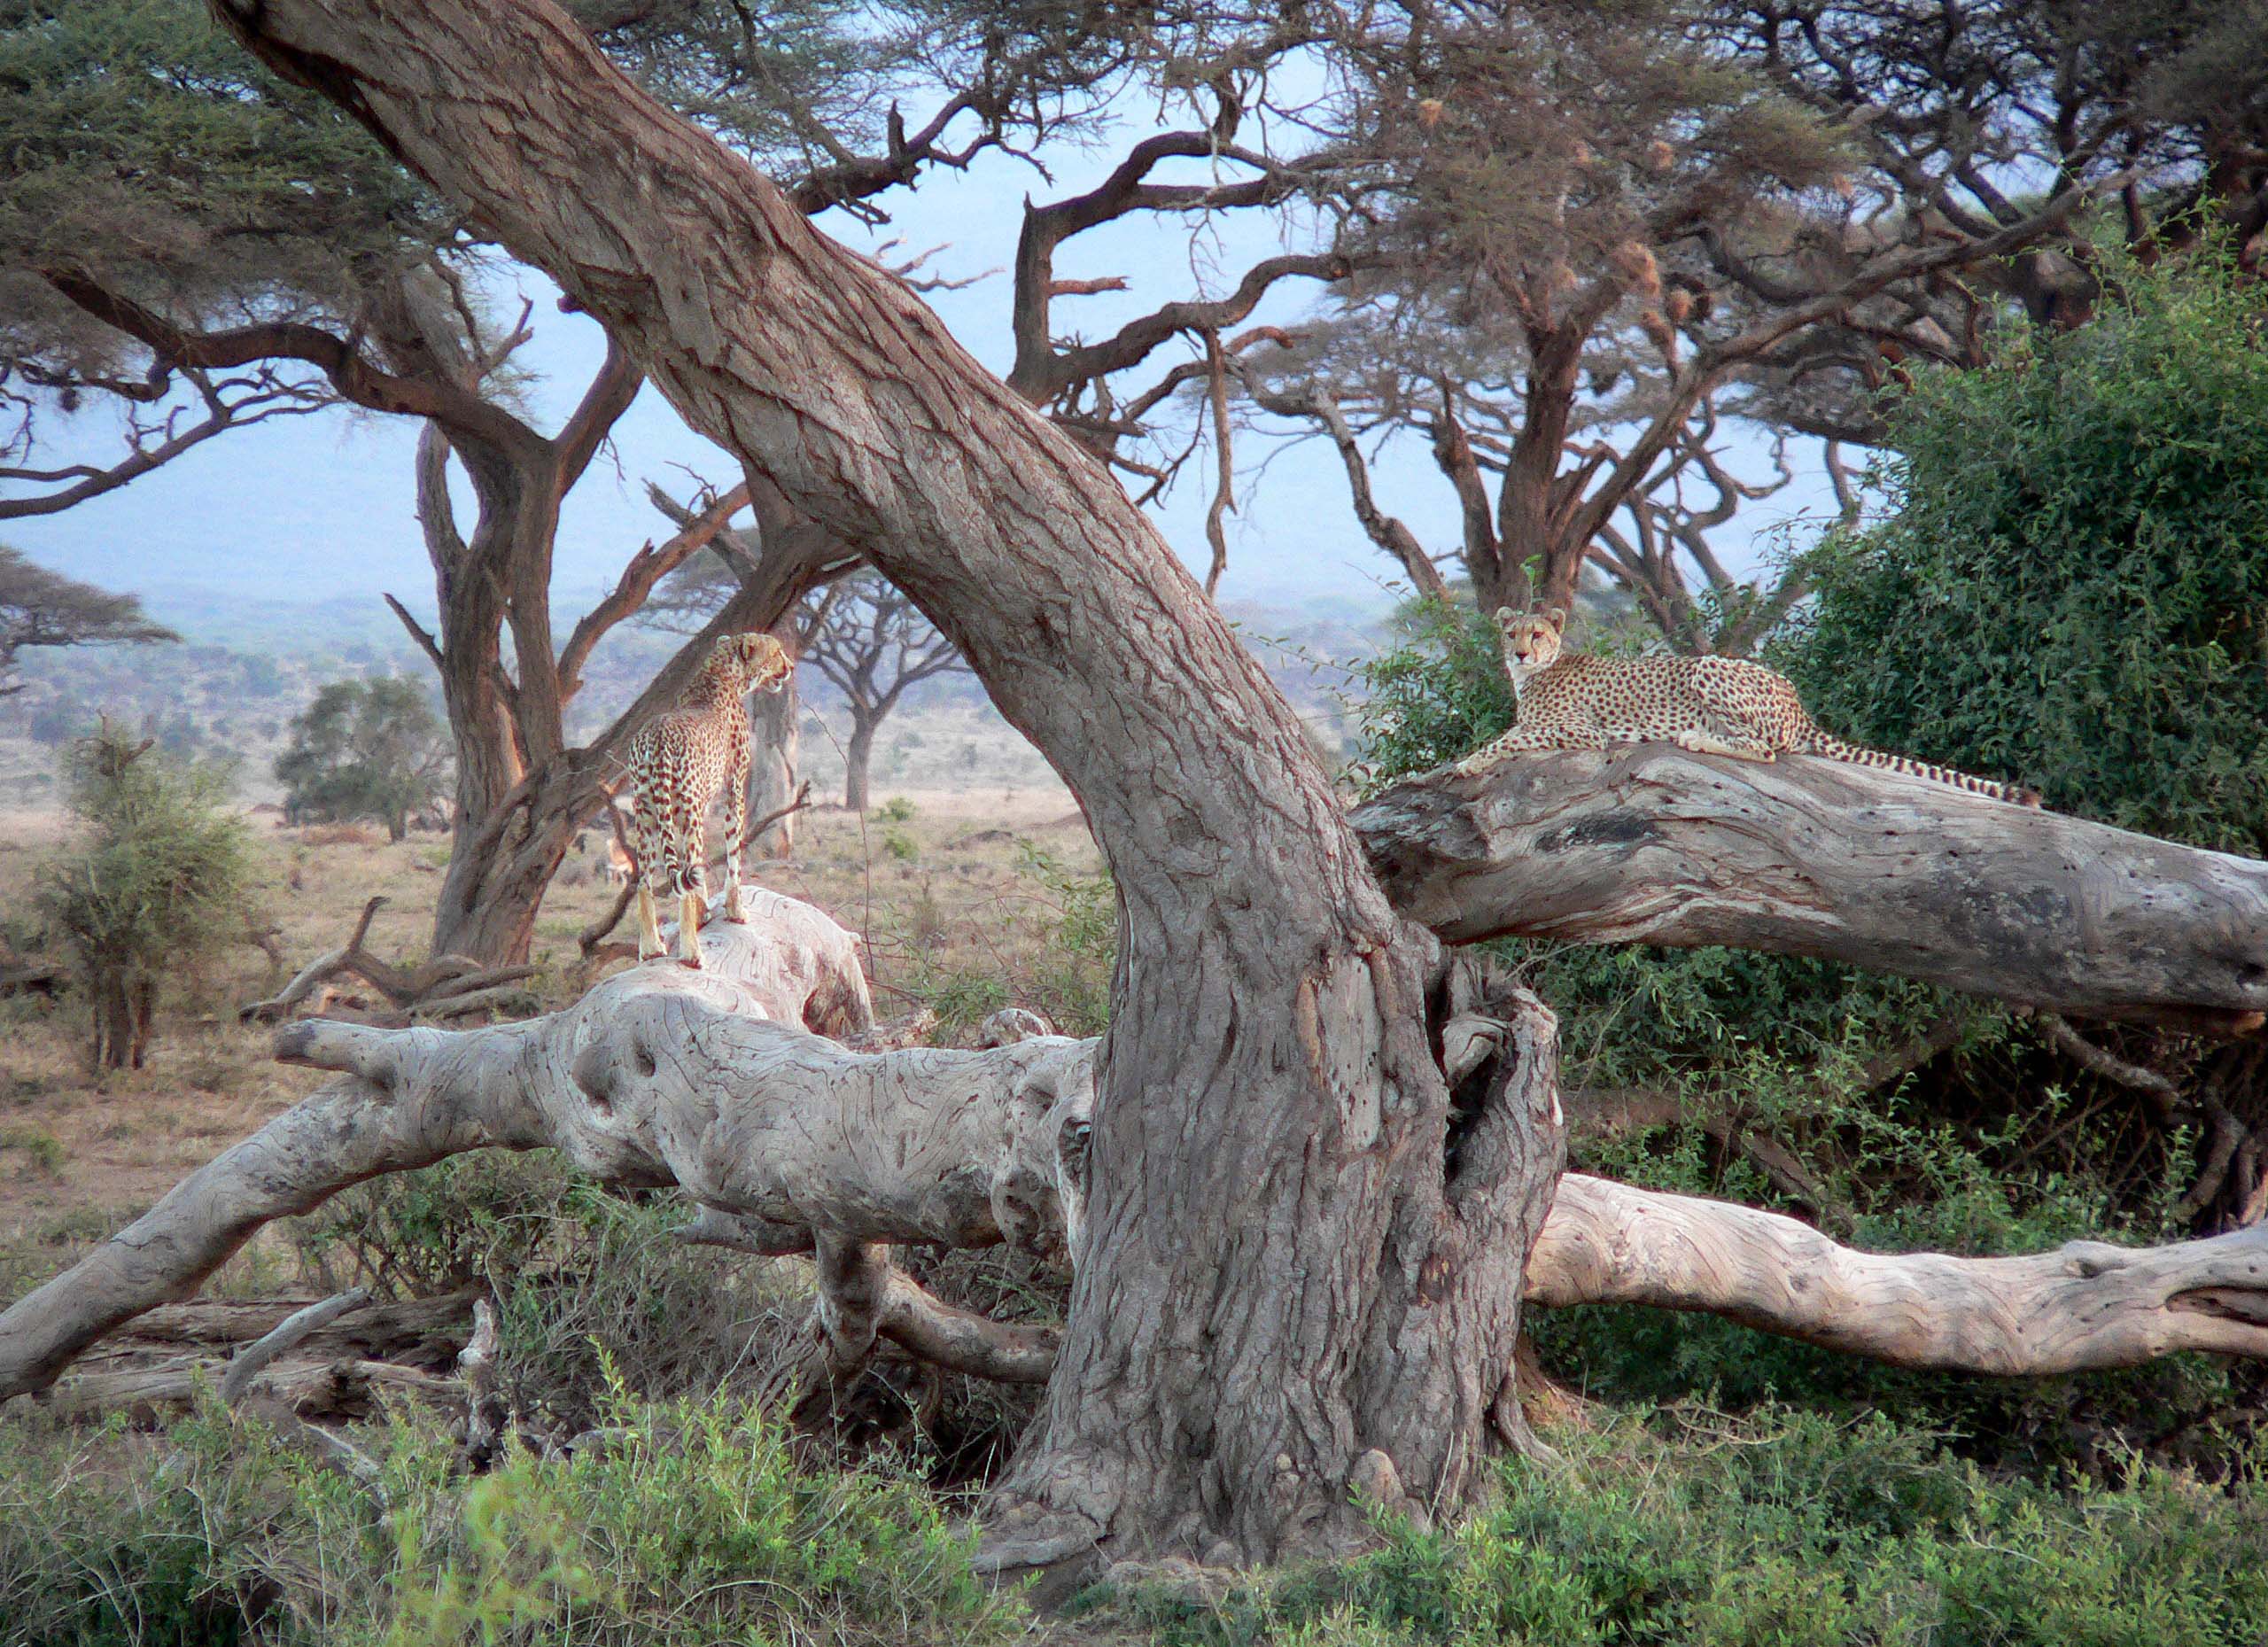
The rule of thirds — placing your subject at one of four intersection points of imaginary lines dividing the frame into thirds — is the most reliable compositional starting point. For an animal facing right, place it in the left third of the frame, leaving space for it to ‘look into’. For an animal at rest, include environmental context — the sky, the grass, the tree — as well as the subject. The most common compositional mistake in safari photography is centring the subject and filling the frame with only the animal: this produces a wildlife portrait rather than a wildlife image, and it removes all sense of habitat and scale.
“The images that stop people when I show them are never the simple portraits of a lion looking into the camera. They are the ones with context — the lion resting with the plains and the horizon behind it, a vulture in the foreground, the light of late afternoon. Composition and context make the difference between an image that records an animal and one that tells a story about a place.”
Nikos Pocock — Managing Director, Africa Calling Safaris
Common Mistakes to Avoid
Shooting too soon: The first frame at a sighting is rarely the best. Watch the animal’s behaviour, anticipate movement, and wait for the moment of action — the head turn, the yawn, the interaction — rather than firing continuously from arrival. Ignoring the background: A cluttered or distracting background ruins an otherwise good image. Ask your guide to reposition the vehicle so that the background is sky, open grassland or blurred vegetation. Overexposing highlight: In bright conditions, use negative exposure compensation (–0.3 to –0.7 EV) to preserve detail in the bright parts of a subject.
Frequently Asked Questions
Should I use burst mode or single shots?
Burst mode for any moving subject — a running animal, a bird in flight, an animal interaction. Single shots for static subjects where you want to be selective. Most professional wildlife photographers keep their camera in continuous burst mode throughout a game drive and cull images later.
What aperture setting is best for wildlife?
The widest aperture your lens allows at the focal length you are using (f/5.6–f/8 for most telephoto zooms) to separate the subject from the background with shallow depth of field. Stop down to f/8–f/11 when photographing groups of animals where you want multiple individuals in sharp focus.
How do I improve my bird-in-flight photography?
Use the camera’s face or subject detection autofocus, set to continuous tracking. Use aperture priority at f/8, with minimum shutter speed set to at least 1/2000s. Practice panning with the bird and firing burst mode through the peak of the wing stroke. Review immediately and adjust ISO if images are underexposed.
Is post-processing necessary for good wildlife photos?
Post-processing — basic exposure, contrast and colour adjustments in Lightroom or similar — is standard practice and expected. Shooting RAW format gives significantly more latitude for exposure correction than JPEG. Extensive manipulation to change background or add or remove elements is not standard wildlife photography.
Visited Africa Calling Safaris? We would love to hear your story.
Share Your ExperienceMore from Safari News
All stories-
Travel Tips
African Buffalo: The Herd Animal That Keeps Lions Honest
The African buffalo (Syncerus caffer) is one of the most underappreciated animals on the African savannah. Visitors focused on cats often overlook the buffalo entirely. This is a mistake. The buffalo is…
-
Travel Tips
Best Time to Visit Kenya: A Season-by-Season Breakdown
The question of the best time to visit Kenya has no single answer because ‘best’ depends entirely on what you want to experience. Every month of the year offers a compelling and…
-
Travel Tips
Kenya’s Three Giraffe Species: An Identification and Conservation Guide
Kenya is home to three of the world's nine recognised giraffe species and subspecies, and the country holds the largest populations of two of them. The 2016 taxonomic revision that elevated several…